1. Open new project (2D)
2. Default Main camera
3. Configuring Game View (iphone 1136x640)
4. Importing Game Assets

5. Adding Player to the Scene
5.1 Change its name to mouse
5.2 Set its Position to (0, 0, 0).
5.3 Add a Circle Collider 2D component. Physics 2D /Circle Collider 2D/Set the Radius of the Circle Collider 2D component to 0.5.
5.4 Add a Rigidbody 2D component, by clicking Add Component and selecting Physics 2D\Rigidbody 2D.
5.5 Enable the Fixed Angle checkbox inside the Rigidbody 2D component.
freeze rotation z (Check)
(https://stackoverflow.com/questions/30794689/why-i-cant-see-fixed-angle-option-in-rigidbody2d-in-the-new-unity5)
6. Test run. Mouse 依據設定重量與重力場,垂直落下。
7. Add Script C#
using System.Collections;
using System.Collections.Generic;
using UnityEngine;
public class mouseController : MonoBehaviour {
public float jetpackForce = 75.0f;
private Rigidbody2D rb2d;
// Use this for initialization
void Start () {
rb2d = GetComponent<Rigidbody2D>();
}
// Update is called once per frame
void Update () {
}
void FixedUpdate()
{
bool jetpackActive = Input.GetButton("Fire1"); // Fire1 is defined by default in Unity as a left mouse button click
if (jetpackActive)
{
rb2d.AddForce(new Vector2(0, jetpackForce)); //
}
}
}
8. Test run , Mouse click may add jetforce once per click.
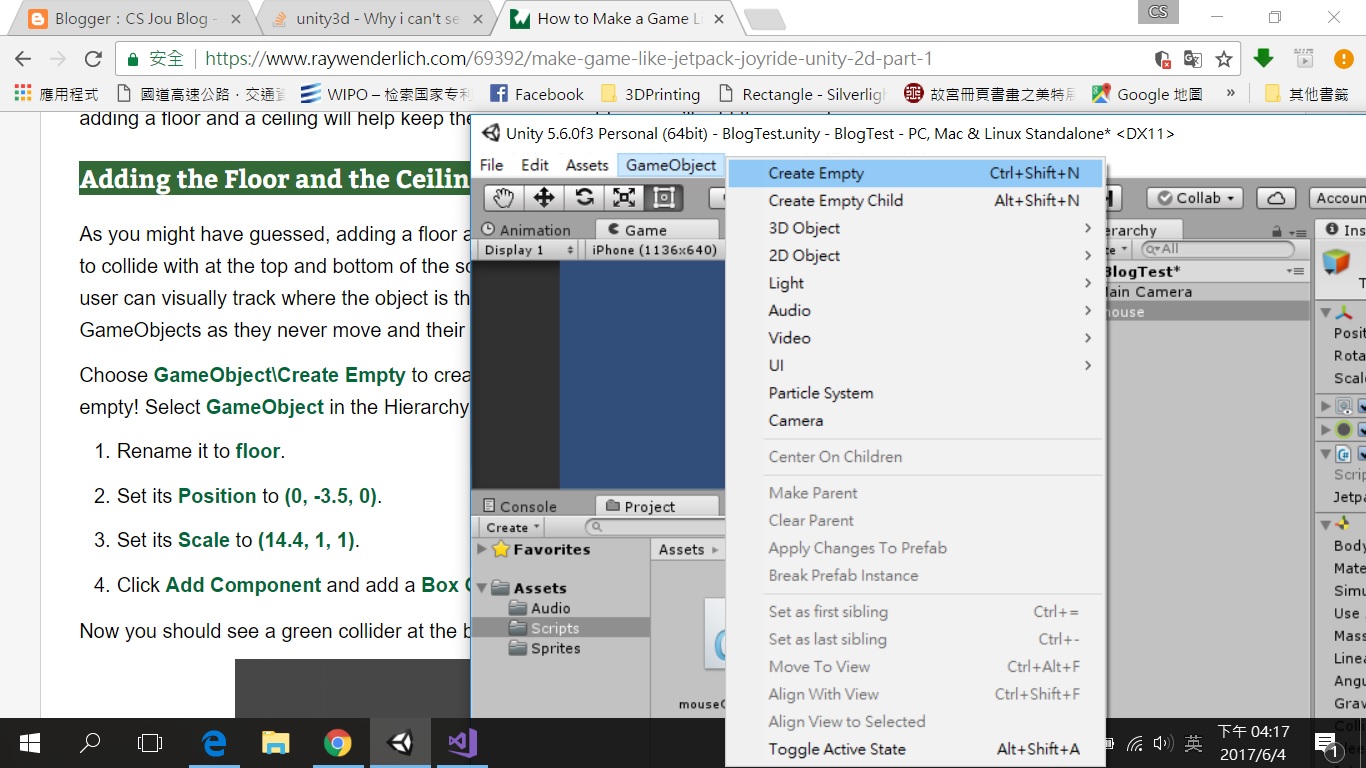
9. Adding the Floor and the Ceiling
9.1 GameObject\Create Empty
9.2 Rename it to floor.
9.3 Set its Position to (0, -3.5, 0).
9.4 Set its Scale to (14.4, 1, 1).
9.5 Click Add Component and add a Box Collider 2D component by selecting Physics 2D\Box Collider 2D.
10. Creating a Particle System
10.1 Rename the Particle System to jetpackFlames.
10.2 Set its Position to (-0.62, -0.33, 0) to move it to the jetpack nozzle.
10.3 Set its Rotation to (65, 270, 270) to set the direction at which the particles will be emitted.
Still in the Inspector, find the Particle System component and set following properties:
10.4 Set Start Lifetime to 0.5
10.5 Set Start Size to 0.3
10.6 Click on Start Color and set Red to 255, Green to 135, Blue to 40 and leave Alpha at 255. You should get a nice orange color.
10.7 Expand Emission section and set Rate to 300. Make sure you don’t uncheck the checkbox to the left of Emission section and disable it.
10.8 Expand Shape section. Make sure Shape is set to Cone and set Angle to 12 and Radius to 0.1. 10.9 Finally enable the Random Direction checkbox. (Random Direction = 1)
10.10 Color over Lifetime

11. Add background
12. Add layers setting and bg-> background, mouse -> Player
13. Fixed particle system bug (Fail to change the layer of jetPackFlame by C# script)
Ref: http://answers.unity3d.com/questions/912639/unity2d-sorting-layers-with-particle-systems.html
Change the layer by inspector

14. Decorating the Room

沒有留言:
張貼留言